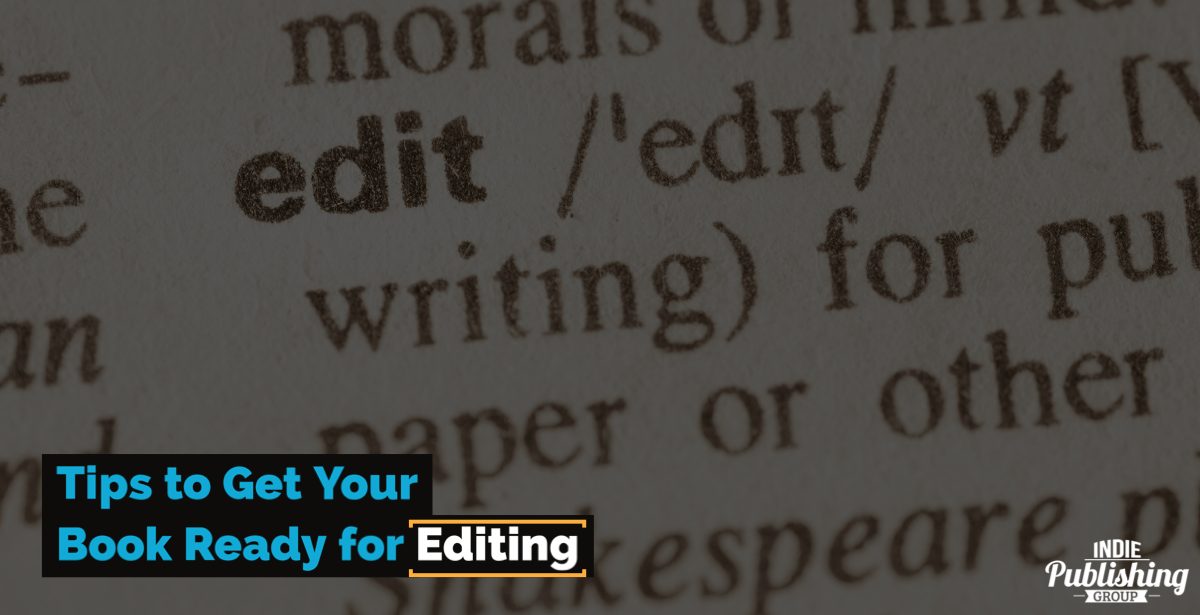
Here are some fantastic tips to get your book ready for editing and proofing!
Over the next week, we’re going to be talking about seven tips to get your book ready for editing.
Now, you don’t have to love your editor, but by being professional and showing your editor you’re a professional, they’ll be more likely to go the extra mile for your book. Below are some great tips to get your book ready for editing!
- Tip 1. Stick to the Basics – Times New Roman may be boring as mud, but there is a reason it’s one of the most commonly used fonts in the world. When your manuscript is ready for editing, try Times New Roman 12-point. Save all your fancy fonts and headings for your interior formatting.
- Tip 2. Basic Is Better – You want to give your editor an easy document to work with. The U.S. standard page size is 8.5 x 11 Inches with 1 Inch margins all around the document. Word usually defaults to this size, but you can set it as your default for getting documents ready for your editor.
- Tip 3. Set Your Alignment to Left Justified – To make the editing process easier, save justification for later in the book. Set your text alignment to left justified!
- Tip 4. Dump the Double Spaces – This one can get quite controversial, but it makes a massive difference when it comes time to edit your book. If you double space after a period, don’t. Way back when we all used to type on typewriters, double spaces were okay. In the digital age, a single space is standard. If you have to change a large document, use your program’s search and replace function to quickly change double spaces to single spaces.
- Tip 5. Double-Spaced Line Spacing – You need to give your words their own space sometimes, and double-spaced line spacing allows your editor to read between the lines, no pun intended! If your document is done already in Word, just go to Format > Paragraph > Double to change it quickly.
- Tip 6. Indenting The Right Way – Instead of hitting the tab or the space bar to indent all your paragraphs, try indenting all your paragraphs by .5 Inches. To do this easily in Microsoft Word, first select all your text, then go to Format > Paragraph. Under the indentation, hit left and .5, and under Special, choose the first line.
- Tip 7. Format Paragraphs According To Your Genre – Different genres have different rules when it comes to paragraphs. Fiction authors should always use indented paragraphs without full paragraph breaks. Nonfiction authors don’t require indentation as long as each paragraph is separated by a paragraph break.
- Tip 8. Remember Page Breaks – Whenever you start a new page, don’t just keep smashing the enter key until you hit the next page. To create a page break in Word, click Insert > Break > Page Break or hold Ctrl & Enter.
- Tip 9. Your Numbering Doesn’t Start On Your Title Page – It’s important to remember that you don’t start numbering your book on the title page. You start numbering where your story starts. To put your numbers into Word, just click in the header area on the first page where your story starts. Header > Insert > Page Numbers, then choose your numbering method.
- Tip 10. Send Your Book/Manuscript Completed – The easiest way to avoid any editing mistakes or missed chapters is to send your manuscript as one file. Most editors prefer Word files, but check with your editor and see what they prefer.
Tips To Get Your Book Ready For Editing! – Conclusion
Not all of these are huge issues by themselves, but when you can make your editor’s job easier, they’ll be that much more invested in doing a great job in return. Most of these tips and tricks can be preset into your Word templates before you begin writing or easily rectified before sending the final document. If you would like any help with book editing, don’t hesitate to check out our book editing services!
At Indie Publishing Group, we’re proud to assist Canadian and North American authors in self-publishing their work. If you are in the process of writing a book and need any assistance with paperback or ebook formatting, cover design, professional editing, or uploading to self-publishing sites such as Amazon KDP and Ingram Spark, please don’t hesitate to reach out and contact us.
Our experienced and professional self-publishing team is standing by to assist you with your self-publishing dreams.


